Kia Cadenza YG: General Information / Lift And Support Points
Kia Cadenza YG 2016-2021 Service Manual / General Information / Lift And Support Points
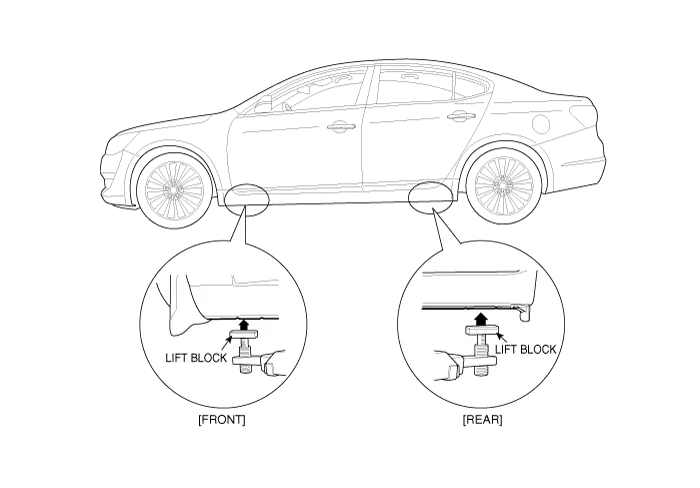
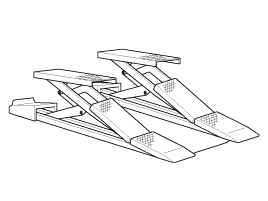
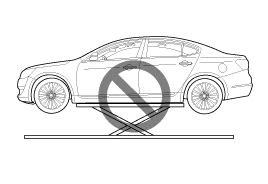
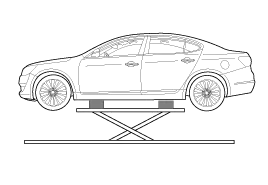
| Lift And Support Points |
|

|

| 1. | Place the lift blocks under the support points as shown in the illustration. |
| 2. | Raise the hoist a few inches (centimeters) and rock the vehicle to be sure it is firmly supported. |
| 3. |
Raise the hoist to full height to inspect the lift points for secure support.
|
|
Warning And Caution Labels 1. Radiator cap caution 2.
Towing If the vehicle needs to be towed, call a professional towing service. Never tow vehicle with just a rope or chain.
Categories
- Manuals Home
- Kia Cadenza Owners Manual
- Kia Cadenza Service Manual
- General Information
- Restraint
- Specifications
- New on site
- Most important about car

Copyright © 2026 www.kcadenzavg.com - 0.028