Kia Cadenza: Front seat adjustment - power / Lumbar support
The lumbar support can be adjusted by pressing the lumbar support switch on the side of the seat.
Type A (for driver's seat & passenger's seat)
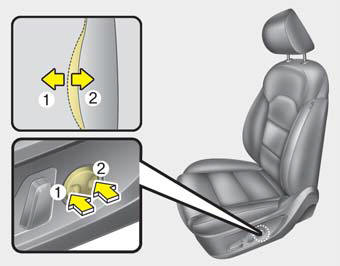
1. Press the front portion of the switch to increase support, or the rear portion of the switch, to decrease support.
2. Release the switch once it reaches the desired position.
Type B (for driver's seat)
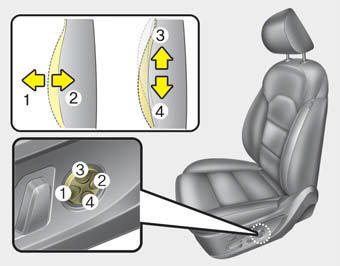
1. Press the front portion of the switch (1) to increase support, or the rear portion of the switch (2), to decrease support.
2. Release the switch once it reaches the desired position.
3. Press the upper portion (3) of the switch to move the support position up, or press the lower portion (4) of the switch, to move the support position down.
4. Release the switch once it reaches the desired position.
 Seat height
Pull the front portion of the control
switch up to raise or press down to
lower the front part of the seat cushion.
Pull the rear portion of the control
switch up to raise or press down
to ...
 Driver position memory system
A driver position memory system is
provided to store and recall the driver
seat and outside rearview mirror
position with a simple button operation.
By saving the desired position
into the ...
Other information:
Kia Cadenza YG 2016-2025 Service Manual: Thermostat Troubleshooting
Troubleshooting SymptomsPossible CausesRemedyCoolant leakage • From the thermostat gasket Check the mounting bolts • Check the torque of the mounting bolts • Retighten the bolts and check leakage again. Check the gasket for damage • Check gasket or se ...
Kia Cadenza YG 2016-2025 Service Manual: Repair procedures
Adjustment Transaxle Control Module(TCM) Learning When shift shock is occurred or parts related with the transaxle are replaced, TCM learning should be performed. In the following case, TCM learning is required. • Transaxle assembly replacement • TCM replacement ...
