Kia Cadenza YG: Head lamp leveling Device / Auto Head lamp leveling Unit Repair procedures
Kia Cadenza YG 2016-2021 Service Manual / Body Electrical System / Head lamp leveling Device / Auto Head lamp leveling Unit Repair procedures
| Removal |
Height Sensor
| 1. |
Remove the height sensor connector (A).
|

| 2. |
Loosen the mounting bolts(Body: 2EA, chassis: 1EA) from height sensor bracket.
|

| 3. |
Remove the height sensor. |
HLLD (head lamp leveling device) Actuator
| 1. |
Remove the head lamp assembly. |
| Installation |
Height Sensor
| 1. |
Install the height sensor. |
| 2. |
Connect the connector. |
HLLD (Head Lamp Leveling Device) Actuator
| 1. |
Install the head lamp assembly. |
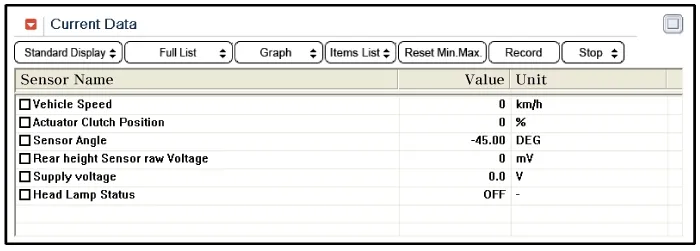
| Inspection with GDS |
Initialization and diagnosis sequence by using GDS equipment.
Below content summarize the procedure for A/S using GDS.
| No. | Procedure |
| 1 | Locate vehicle to flat plane |
| 2 | Tire check |
| 3 | IGN1 ON |
| 4 | Head lamp Low Beam ON |
| 5 | Connection with diagnostic tool |
| 6 | Initial command by diagnostic tool |
| 7 | Clear DTC Code |
| 8 | IGN1 OFF → ON |
| 9 | Re- Connection with diagnostic tool |
| 10 | Checking of HLLD output value as 15% and DTC Code |
| 11 | HLLD actuating by diagnostic tool command |
| 12 | Head lamp mechanical Initial Aiming |
|

| 1. |
Select the vehicle model and "Head lamp leveling".
|

| 2. |
GDS can operates actuator forcefully, input/output value monitoring and self diagnosis.
|
| 3. |
To perform functional test on AHLS outputs, select "Actuation Test".
|

| 4. |
Select " Parameter setting & Zero position Initial".
|


| 5. |
Confirm that AHLS operate forcefully in "Head lamp leveling" menu.
|


| 6. |
To check the DTC of the head lamp leveling system, select "Diagnostic trouble codes" |
Description According to driving environment and loading state of vehicle, head lamp lighting direction is changed to keep the driver''s visibility range and to protect the driver''s vision from glare, aiming at safety driving.
Other information:
Kia Cadenza YG 2016-2021 Service Manual: Schematic Diagrams
C
Kia Cadenza YG 2016-2021 Service Manual: Blower Unit Repair procedures
Replacement 1. Disconnect the negative (-) battery terminal. 2. Remove the heater and blower unit.(Refer to HA group – heater unit). 3. Remove the blower unit (A) from the heater unit after loosening a mounting bolt and 3 screws. Make sure that there is no air leaking out of the blower and duct joints.
Categories
- Manuals Home
- Kia Cadenza Owners Manual
- Kia Cadenza Service Manual
- Automatic Transaxle System
- Components and Components Location
- Alternator Schematic Diagrams
- New on site
- Most important about car

Copyright © 2026 www.kcadenzavg.com - 0.0262