Kia Cadenza YG: Exterior / Trunk Lid Repair procedures

Replacement
Trunk Lid Assembley Replacement
   
When removing and installing the trunk lid, an assistant is necessary.
Wear gloves to protect hands from injury.
1.
After loosening the mounting screws, then remove the trunk inside handle (A).

2.
Detach the clips, then remove the trunk lid trim (A).

3.
Disconnect wiring (B) and connectors.
4.
After loosening the mounting bolts, then remove the trunk lid (A).

Tightening torque:
6.9~8.8 N.m (0.7~0.9 kgf.m, 5.1~6.5 lb-ft)

5.
Installation is the reverse of removal.
   
Replace any damaged clips.
Trunk Lid Weatherstrip Replacement
1.
Remove the trunk lid weatherstrip (A).
   
Do not apply sealant to the body.

2.
Installation is the reverse of removal.
   
Install the weatherstrip aligned with canter line (B).
Key Holder Replacement
1.
Remove the trunk lid trim.
2.
Disconnect the inside handle cable (A), then loosen the key holder (B) mounting clips and remove.

3.
Installation is the reverse of removal.
Trunk Lid Latch Replacement
1.
Remove the trunk lid trim.
2.
Disconnect the trunk lid latch connector (A).
3.
Disconnect the cable (B), then loosen the latch assembly (C) mounting bolts and remove.

Tightening torque:
6.9~10.8 N.m (0.7~1.1 kgf.m, 5.1~8.0 lb-ft)

4.
Installation is the reverse of removal.
   
Make sure the trunk lid locks/unlocks and opens/closes properly.
Trunk Lid Back Panel Replacement
   
When prying with a flat-tip screwdriver, wrap it with protective tape, and apply protective tape around the related parts, to prevent damage.
Put on gloves to protect your hands.
1.
Remove the trunk lid trim.
2.
After loosening the mounting nuts, then disconnect the rear combination lamp connector (B).
3.
Remove the rear combination lamp (A).

4.
Loosen the trunk lid back panel mounting nuts (A).

5.
Using a screwdriver or remover, remove the trunk lid back panel (A).

6.
Installation is the reverse of removal.
   
Replace any damaged clips.
Adjustment
1.
After loosening the trunk lid hinge (A) mounting bolt, adjust the trunk lid by moving it up or down, or right or left.
2.
Adjust the trunk lid height by turning the trunk lid overslam bumpers (B).
3.
After loosening the trunk lid striker (C) mounting bolts, adjust the trunk lid striker by moving it up or down, or right or left.

    Replacement Hood Assembly Replacement     • When removing and installing the hood, an assistant is necessary. • Be careful not to damage the hood and body.
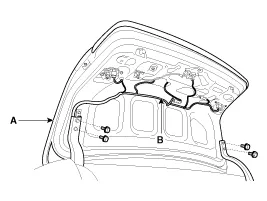
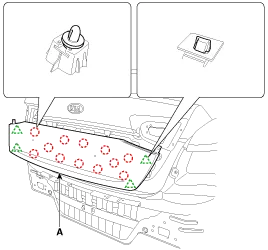
    Components 1. Front door trim2. Front door inside cap3. Front door frame inner cover4. Front door belt inner weatherstrip5. Front door panel6. Front door upper opening weatherstrip7.

    Other information:

    Kia Cadenza YG 2016-2021 Service Manual: Blind Spot Detection Unit Repair procedures

    Removal 1. Disconnect the negative (-) battery terminal. 2. Remove the rear bumper. (Refer to Body - "Rear Bumper") 3. Remove the BSD unit (A) after loosening the mounting screws.     Take care not to separate the bracket from rear bumper when removing the BSD sensor.

    Kia Cadenza YG 2016-2021 Service Manual: Auto defoging actuator Repair procedures

    Inspection 1. Ignition "OFF”. 2. Disconnect the connector of auto defog control actuator. 3. Verify that the auto defog control actuator operates to the defrost ON mode when connecting 12V to the terminal 3 and grounding terminal 7. 4.

    Categories

     
    Copyright © 2026 www.kcadenzavg.com - 0.0216